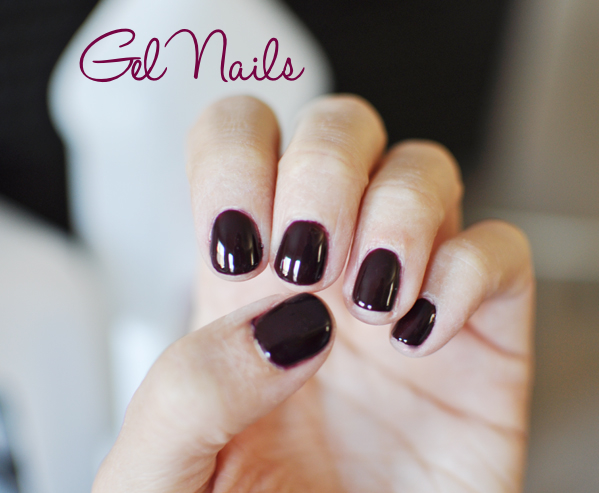
Remember when I shared some of my favorite things back HERE? After requests, I’m showing you the process step to finish. The real kicker? It stays looking perfectly shiny and chip free for up to 3 weeks! (Can you hear the heavenly angels singing? Uhhh-ahhhh! Operatic, isn’t it?)
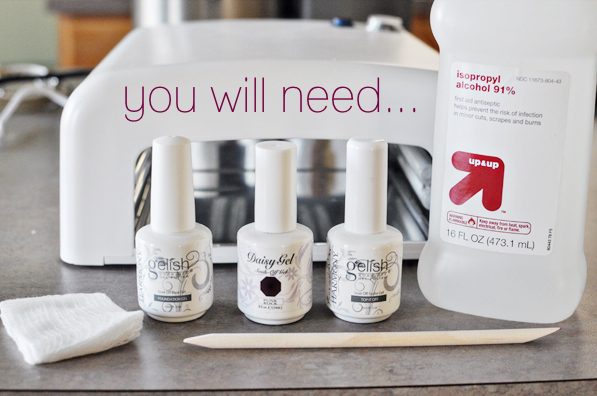
I’ve always used Gelish products but was recently introduced to Daisy Gel courtesy of Esther’s Nail Center. Daisy Gel, compatible with Gelish base & top coats and offered at a more budget-friendly price, delivers a remarkable performance. Having experienced its effectiveness firsthand, I must acknowledge that Daisy Gel not only matches Gelish colors seamlessly but also boasts impressive longevity. For those wondering about nail durability, the answer to “how long do gel nails last” is evident in the enduring quality of Glitterbels as well as Daisy Gel, making these two the excellent choice for a durable and cost-effective manicure solution.
You Will Need:
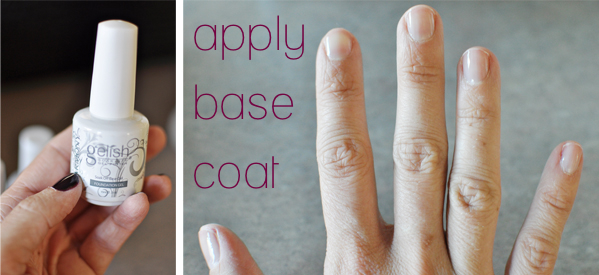
Gelish Base Coat
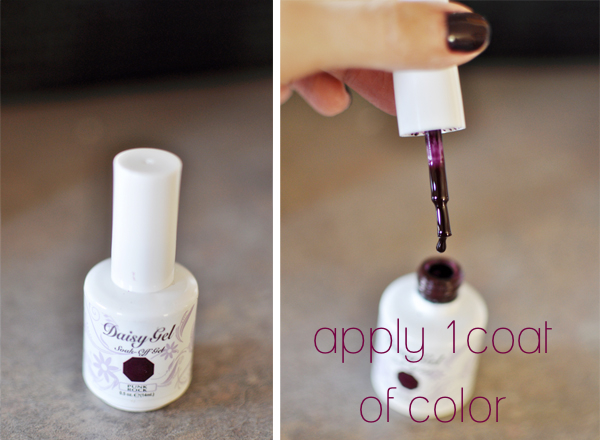
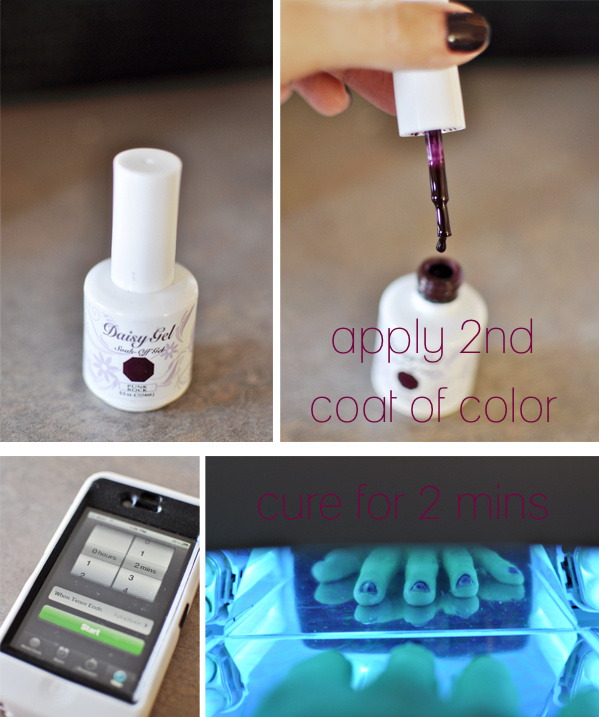
Gelish or Daisy Color (punk rock shown)
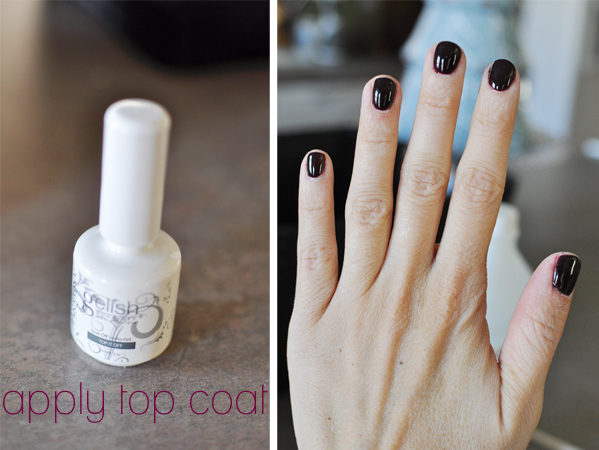
Gelish Top Coat
Smudge stick (for tidying mistakes)
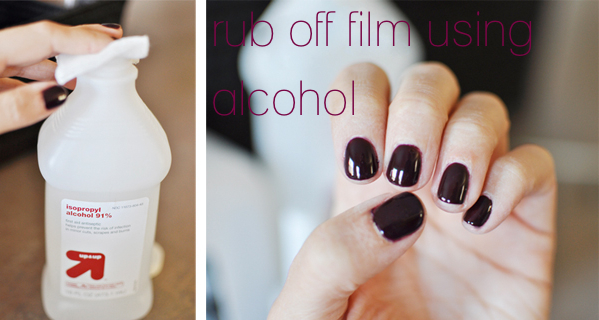
Rubbing Alcohol (90% or higher)
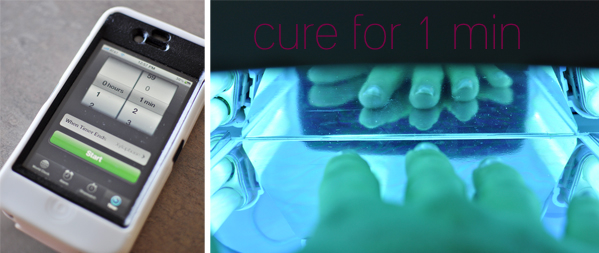
UV or LED lamp for curing (I have UV)

If you need to remove the polish, you can follow the steps found HERE under the tab, “Soak Off”. The only thing I’d add is that acetone polish remover works just as well as the “Harmony Soak Off Gel Remover”. I’ve found that in most cases, after 3 weeks the polish will start to lift by the sides making it easy to peel off, eliminately the need to soak off. (slowly peel as not to damage your nails).

On my way to your house for a manicure…see ya in 5! (LOL!)
That’s a really neat at-home system. I’d just have to trust I had as steady a hand as you to paint my nails that cleanly! Looks fab 🙂 x
whoa! that is so cool! i need to try that!
yes, yes, you do!
I just discovered this at my own salon and had it done before Christmas and they are still going strong! I could never do them as nicely as you, but it would be totally worth the investment in the system!
seriously, it pays for itself after just a few manicures.
I LOVE gel nails, looks awesome for way longer than regular polish AND I can still rock climb. That’s right, not even rock climbing makes them look mangled!
But my big question is how the heck do you get them off?
Follow the instructions at the bottom of the post, my dear 🙂
Nice! I guess I need to try that now! Thanx for sharing!
Natalie
http://www.projectdowhatyoulove.wordpress.com
LMK how they turn out 🙂
This is the best tutorial I’ve seen! I have been wanting to get a gel manicure, and didn’t even know I could do it myself! Small problem though… where do I get a UV lamp?
♥Abbey
Along Abbey Road
There’s a link when you click on the “uv lamp” under “you will need” list. 🙂
Now that’s my kind of manicure!
You NEED this in your life.
Melissa, is this Gelish stuff the same as OPI Axxium? How long have you been using it, and are you finding that your nails are getting thinner/weaker? I did a couple of gel manicures in a row at the salon, paying through the nose but loving that my nails looked great every day for three weeks regardless of what I put them through. But then the last time I had the gel removed my nails were like tissue paper. It was really hard growing out the damaged nails because they kept ripping and tearing. But I miss having that long-lasting, great looking manicure. I also wanted to know what brand/model UV lamp you are using and where you got it, but Abbey beat me to that question!
No it’s completely different (in the best possible ways). I haven’t noticed my nails thinning at all. I have thicker nails but even still it hasn’t done damage. I switch off between gels and regular polish so that could be helping. As far as the lamps go, click the links and you’ll find some on amazon. Also check out ebay to compare the best prices but make sure if it’s UV it’s at least 36 watts. 🙂
What an awesome tutorial! I love getting the gels done, but the cost really adds up! I am definitely going to grab this stuff up though and do it myself. Your photos are always so clear and pretty… may I ask what kind of camera you use? I am in the market for a new dslr and I want to find out as much as possible about all of them!
Thanks, Alexandria! I can’t wait to hear how you like them. I use a nikon d5000. 😉
Oh that is great to hear! That’s the one we are looking to buy! Do you use the lens kit that comes with? I’m thinking of getting the 50mm/ f1.4… I’ve heard good things!
Was totally inspired by your post that I did my own that very night! It was SO easy and I’m in love! I can’t wait to get more colors.
Hello Melissa, thank you for the review of Daisy Gel Polish. I am glad it looks good and stays long. And fortunately, Daisy just released new colors, beautiful ones. Just check the link below and see the color swatches. Thank you very much.
https://esthersnc.com/info/daisy-gel-polish-color-swatches
Esther’s Nail Center
OMG! Im from
the bay area in CA and I just Found out about daisy yesterday. I bought me two to try out and I really like them. I did my moms nails and I think it was almost better than gelish. I only did 2 coats as opposed to the gelish where I had to do 3 or 4 coats on a similar color. thank you for reviewing it! Since I just got it I wasn’t to sure how great it would work!!
Ps love ur blog!!
Ahh I love this and am going to buy it and try it. One question, what about your toes? I love for them to match ;(
I use it on my toes too but it stays on almost too long for my taste. It’s also harder to get off on toes for some reason. But yes, you can definitely pretty up your piggies in gel polish! xo
Hi missy!! Thank you for the tutorial and for sharing your great find!! I didn’t realize you could buy a UV light without a licenses. Because of you I just purchased one from your link!! Thank you!! I am soo EXCITED!! Your blog is one of my guilty pleasures! Thank you for blogging!!
My question is, how well do Gelish and Daisy handle dishwashing and or latex gloves? I am a cake decorator so my hands are constantly in frosting, gloves, or soapy water. I am so sad that my CND Shellac does not last more than a day or two. They just start peeling off one by one.
I’m not sure how it compares to shellac because I’ve always used gelish. I’m not a full time cake decorator but I’ve got my hands in and out of warm water (baby baths, dishes, cooking, etc) all day and mine seem to do great! It’s one of those things you’ll just have to try. Maybe try it at a salon that carries gelish before purchasing the whole system.
Your tutorials are wonderful and your site is one of my daily addictions! This tutorial, in particular, was so incredibly helpful! With just having taking off my acrylic tips, my nails are extremely weak and fragile, tearing and peeling left and right. With not being able to afford the upkeep of getting shellac or gels done in the salon anymore, I had given up on having nice nails… until I saw this! Your tutorial convinced me to buy everything and do it myself. I just did it for the first time tonight following your extremely easy tutorial and I couldn’t be happier with this investment! Thanks so much!! Keep up the great work!
I have a question… I tried a gel polish but I don’t remember the brand… It might have been in a pink box? But anyways, the smell of my nails gave me a constant headache, long after they had dried. Does this brand have the same problem? Is there any lingering smell after the nails have dried?
I’ve never noticed any lingering smell… sounds scary.
I am going to give this a try at home- hope to save myself a pretty penny as I pay a TON of them every three weeks for gelish mani and pedi. I notice on the Daisy site the Daisy Gel Ultra Bond, which you do not mention using in your tutorial. Have you tried this partticular step? If so, do you recommend it? Thx for the great post.
You can simply use the gelish base and top coat with the daisy colors and you don’t need any other products! 🙂
Did you get your UV lamp at Sally Beauty? I bought the one off Amazon that you linked to and the darn thing broke after one manicure. :/ Think I’ll return it and check out what I can find at Sally. Great tutorial!
I’d recommend buying your lamp from esthersnc.com She is reputable and the lamp is high quality. My SIL bought the one from Sally’s and hasn’t had good luck with it. So sorry to hear yours broke! Maybe it was just a faulty one?
I hate soaking my fingertips in acetone, but one salon did a different removal approach. They tore apart a cotton ball into rather small bits, which were then soaked in acetone. They used that bit of cotton to cover the nail, and wrapped the fingertip in a small piece of aluminum foil to hold the cotton in place. Wait 5 minutes or so, then you can peel/remove the polish in the same manner as other methods. There is a bit more work, but the upside is only the nail is in acetone- not your fingertips or other skin!
I LOVE gel nails… I haven’t used regular nailpolish on my nails for almost a whole year now! I do it at home like this blog or I sometimes get it done at the salon…. Either way both are fabulous! I noticed that if i dont seal off the edges it won’t last as long and if you get the gel nailpolish on your cuticle while you are painting it won’t last as long. Just make sure to get right up to the cuticle but DON’T touch it….
LOVE gel nails! I highly recommend I am very hard on my nails and they last FOREVER! 😀
I am typing this with my left hand as my right is “cooking” because I just couldn’t wait to tell you…YOU ARE MY HERO!!!!! This was the easiest, most beautiful manicure I’ve ever given myself!!! I’m off to do my toes!! 😉
Thank you!! Thank you!! Thank you!!
Wonderful… my only drawback to doing it myself is that I can’t cut my own cuticles!!
What do you do with them?
Thank you for posting this wonderful tutorial. I just ordered my lamp and supplies tonight. I cannot wait to try this. 🙂 Thanks again 🙂
OOOOH totally looking into this. My only question is the last step where you say to use nail polish remover to take off the film?
Do you mean the top coat after you are done painting?
Or do you mean when you are over the color, that is how you REMOVE it completely?
(sorry, being a blonde…)
Aloha!
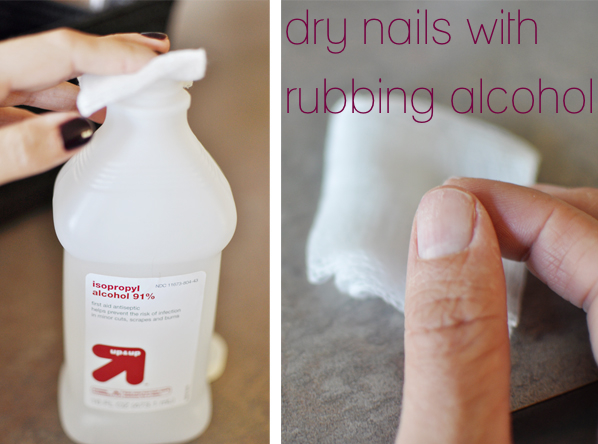
The rubbing alcohol takes off the sticky film from the top coat (final step). To completely remove the polish, acetone nail polish remover will take it off. Hope this clears it up… no need to apologize. Heck! I’m a blonde writing the steps for another blonde to follow! haha!
I have had acrylic nails on for 15 years, so you can imagine how thin my real nails are!! I tried gel polish when it first came out and it didn’t help “protect” my nails from bending forward or backwards (ouch!!) as well as giving my nails a little bit more thickness. I recently took my acrylics off and now have gel polish on, and I love the thickness to my nails, however it IS quite costly where I go. My question to you would be, will this polish make my nails still have a little bit of thickness to them…(keep in mind my nails are super thin from having fake nails on!)…thank you!
Where can i find this kit??
Super nice tutorial! I’ve being trying to buy everything on amazon and I get scared of buying something I can’t use. I’ve done gel and acrilic nails with tip, !but 10 years ago 😆 Things change I guesss, so tomorrow I will go and look for this things at Sally Beauty Supply. Where do you get yours? Do you sand the nails too or just with alcohol?