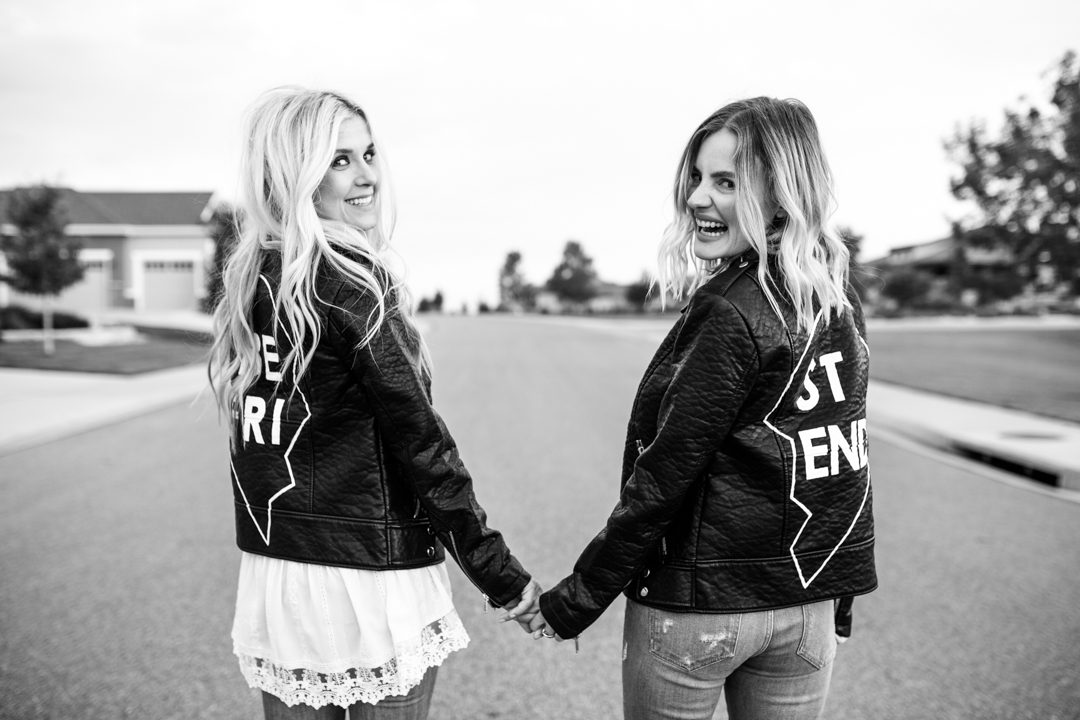
 Cue Harry Nilsson: “Let me tell you ’bout my best friend…” Such a good song, man. You’ve seen the necklaces, bracelets, and perhaps even bestie t-shirts. But jackets? Well, that’s stepping up your ‘besties memorabilia game’ in ridiculously cute ways! Yes, there are the swoon-worthy designer Veda Jayne ones. Or you can save a grand (or two — yeah, not even kidding) and make them yourself. Though, let me fill you in on a few little secrets… This project is not for the faint of heart (pun intended). More time equals more enjoyable. Give yourself plenty of time — like, say weeks or even months (if you have little cherubs) to complete it. Use faux leather because it’s more forgiving should you make a mistake or 10 (a little water will wash away the chalk lines). Go bigger with the heart and bolder with the font than you’d think. Shout it out loud and proud, “I’M A BEST FRIEND!” Give it to your bestie for an extra special occasion because that’s what these are — extra special. Perhaps even consider playing the above mentioned 70’s jingle when your friend opens her gift! It makes for the ultimate reaction of tears mixed with giggles. Tee hee!
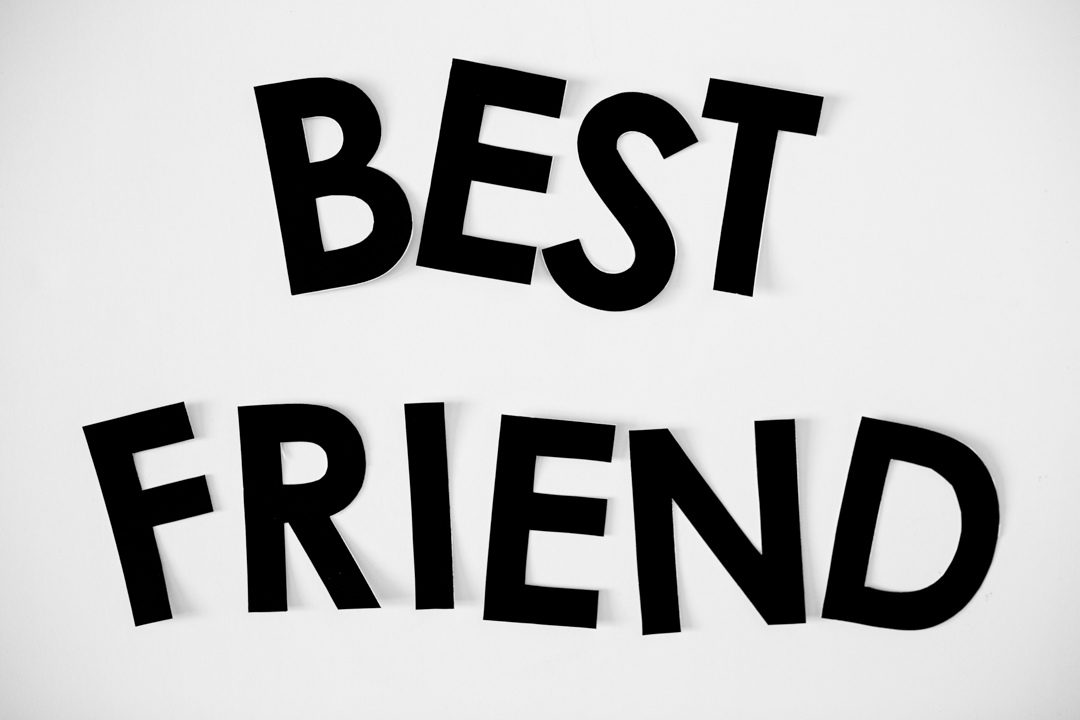
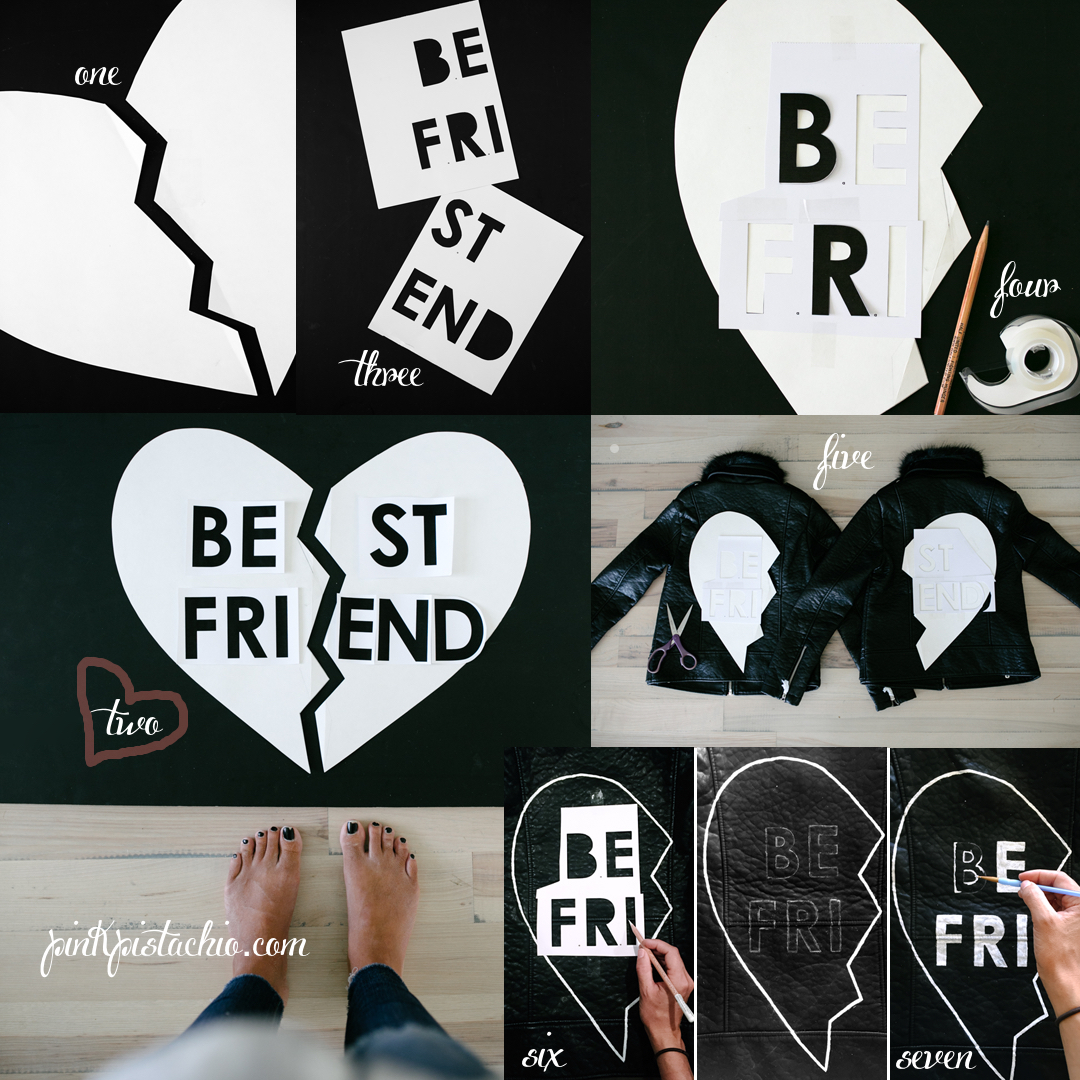

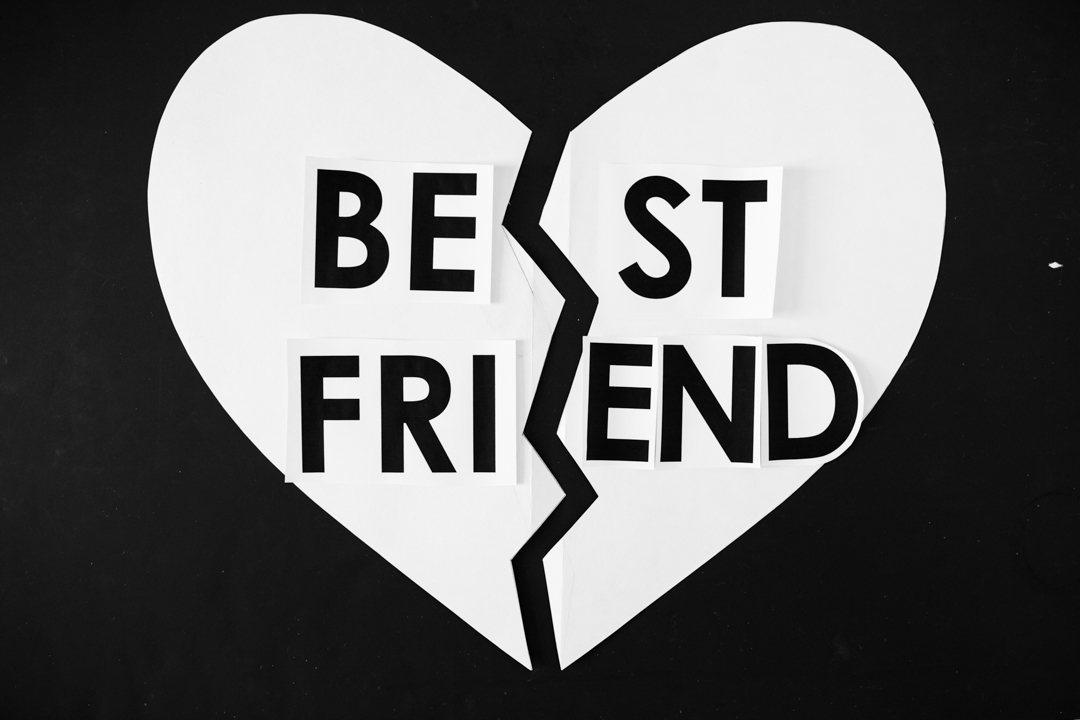
- Create a heart by folding poster paper in half and cut. Unfold and create the jagged line down the center using a pencil and ruler. Cut along the line to create two halves.
- Print desired font on cardstock and arrange on heart halves for placement. PDF: BE FRI + ST END
- Use an exacto-knife craft blade to carefully and slowly cut out each letter to create a stencil. Be sure to save letters: B, R, and D for interior tracing later.
- Tape the stencil on each heart half and trace letters using a pencil. This step is optional but helps to visualize the finished product in case adjustments are needed.
- Lay jackets on a flat surface followed by each heart. Adjust as needed to get correct placement. Trace each heart using a chalk pencil to create an outline. Using a small yet substantial paintbrush, paint over chalk outline. Don’t rush it and use small strokes.
- Position the stencil appropriately on each heart half and tape to secure. Note: this is where the ‘optional step #4’ comes in handy for referencing the correct letter positioning on the jacket. Again, use the chalk pencil to trace each letter. Place the reserved B, R, and D back into the stencil for tracing the interior of each letter.
- Use the paintbrush to follow the same technique as before, starting with the outline and then filling in each letter. Let dry. Apply two more coats (let dry between coats) with a wider brush for smooth application.
- Finish by applying two coats of modgepodge (let dry between coats) to all painted areas.
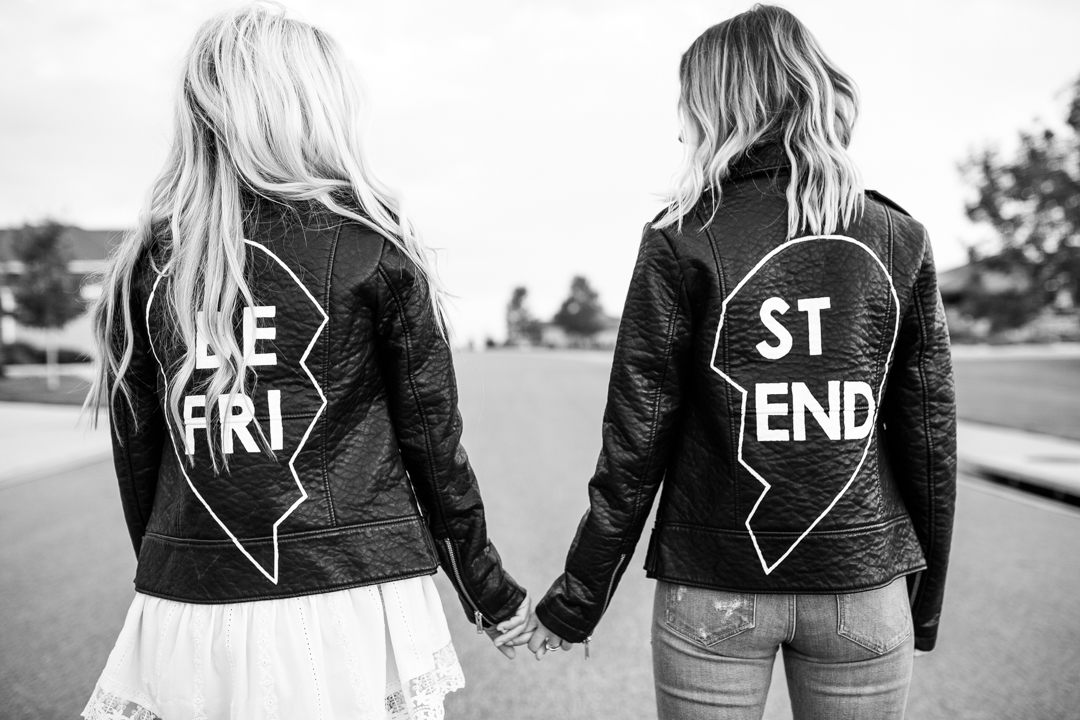
Our jackets are from HERE (no longer available). But there are other cute options like THIS one, that would work just as well.
LOVE this!! ? so stinking cute!! ??
You’re so freaking creative!
http://thejoifullife.com/